I’m sure I’m not the only one who thinks that the only thing better than playing Magic would be to live Magic. Still, until it’s possible (and, ideally, legal) for me to Lightning Bolt people in the face when they’re wrong on the Internet, I have to settle for elaborate costume pieces when I’m looking for that feeling of the arcane.
So, let’s make some Magic.
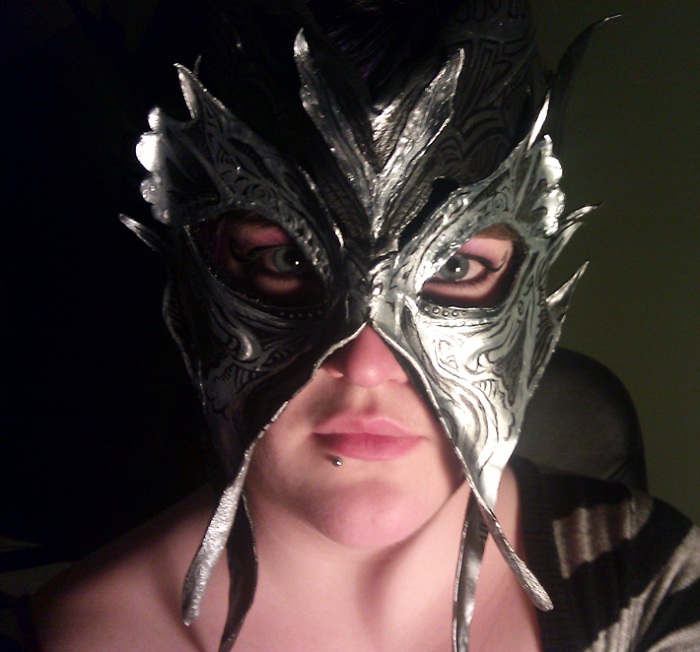
I’ve been basically in love with James Paick’s original art for the Mask of Avacyn since I saw it. How could I not be? It’s gorgeous: all etched and filigreed and shiny. Obviously I wanted one, and obviously there was no other solution but to make one for myself. I haven’t the faintest clue how to make things out of metal, but I figured I could get a close enough aesthetic with leather.
To be perfectly honest, I didn’t have the faintest clue of how to make things out of leather either, but I’d seen leather masks around, and my dad has been a leatherworker as long as I can remember (Multnomah Leather, in case any of you like custom shoes), so I felt that leather was a more accessible medium. Truth be told, it was kind of ridiculously easy; I looked up "leather molding" on Google and found several tutorials that I only half paid attention to. Basically, it goes like this:
- Cut out vegetable-tanned leather in a shape.
- Soak in water for 6-12 hours.
- Mold as desired.
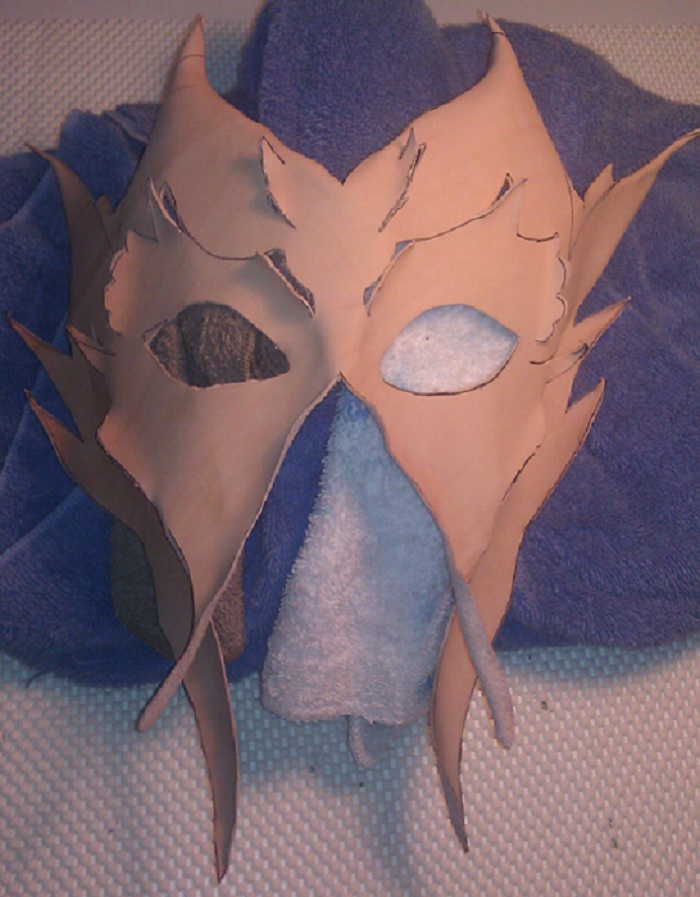
To be fair, I’m already decently crafty, and I’m no stranger to making things out of other things. I sketched the outline on a scrap of leather my dad had donated to the cause, eyeballed the measurements (which is kind of obvious if you look closely, but shhhhh, no one is going to look closely if I don’t tell them to), added some bits to cut and curl up to make it look like two masks layered together, and cut the whole thing out. Then I filled the sink with water and dunked it down to sit overnight.
The next day I made a pile of towels on my art desk and, well, bent it into shape. Leather is really incredibly easy stuff to work with. Get it how you want when it’s wet and it’ll stay beautifully when it’s dry. The leather I was working with was a little thin, so I ended up hot gluing some felt to the back of it to keep it stable. I couldn’t get black felt at the store, so I used blue and painted it black. I basically faked my way through the whole project, in case that wasn’t already obvious.
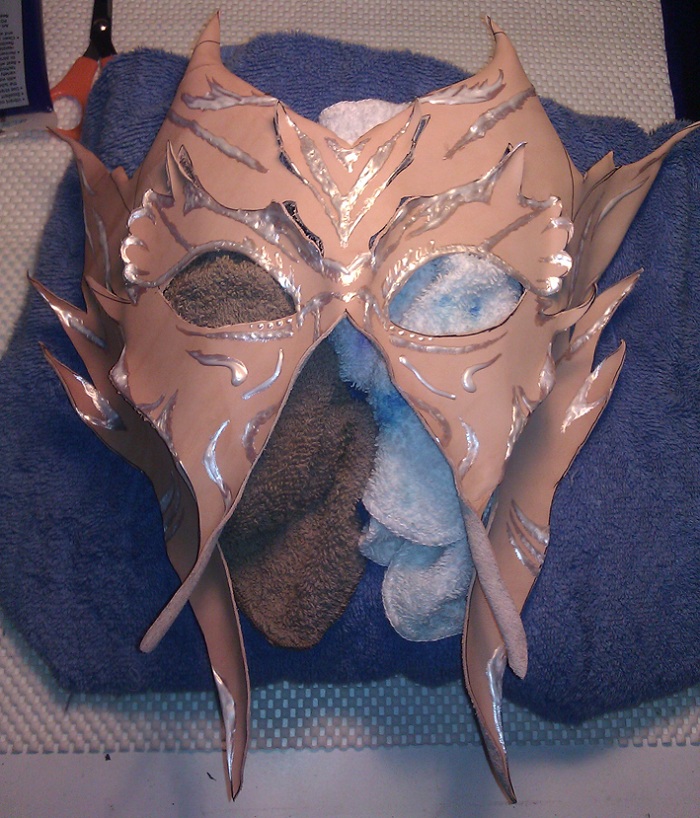
Painting pretty designs is all well and good but I wanted some texture as well. Fabric paint, also known as puff paint, is awesome for this. I used this to add to the illusion that there were two layers, added some twiddly bits so it wasn’t just smooth and flat, and that sort of thing.
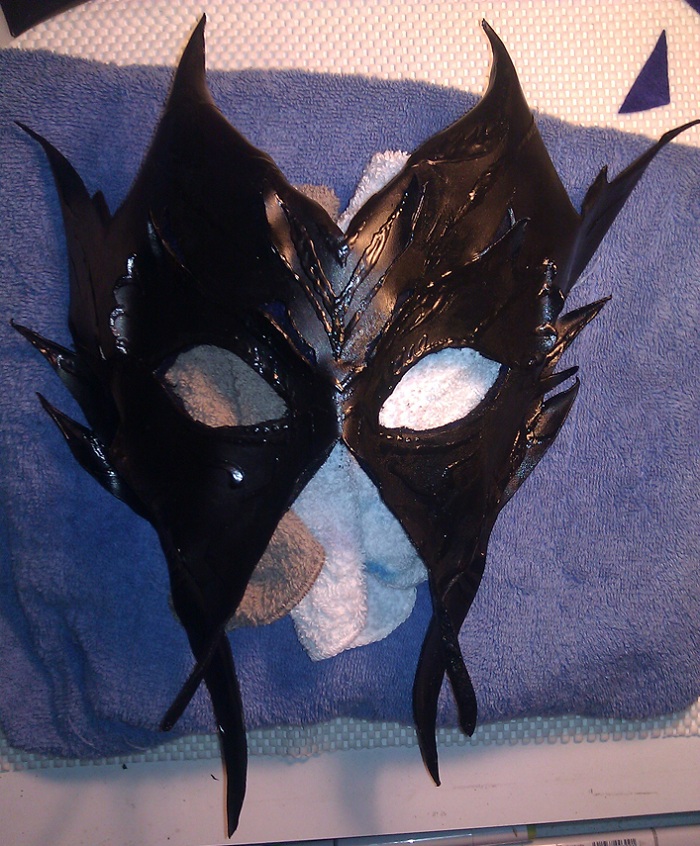
Then I painted the whole thing black, nice and solid over the whole lot. My original plan had been to do the designs in silver over the black layer, but I spent like an hour doing some of that and it didn’t look good at all. Art is very frequently about doing something that looks terrible and then muscling through until you make it look good again. If there’s a phase one can hit as an artist where one does not horribly screw things up on occasion, I haven’t hit it.
So, next plan: get the whole thing all silvery then do the details in black on top of that.
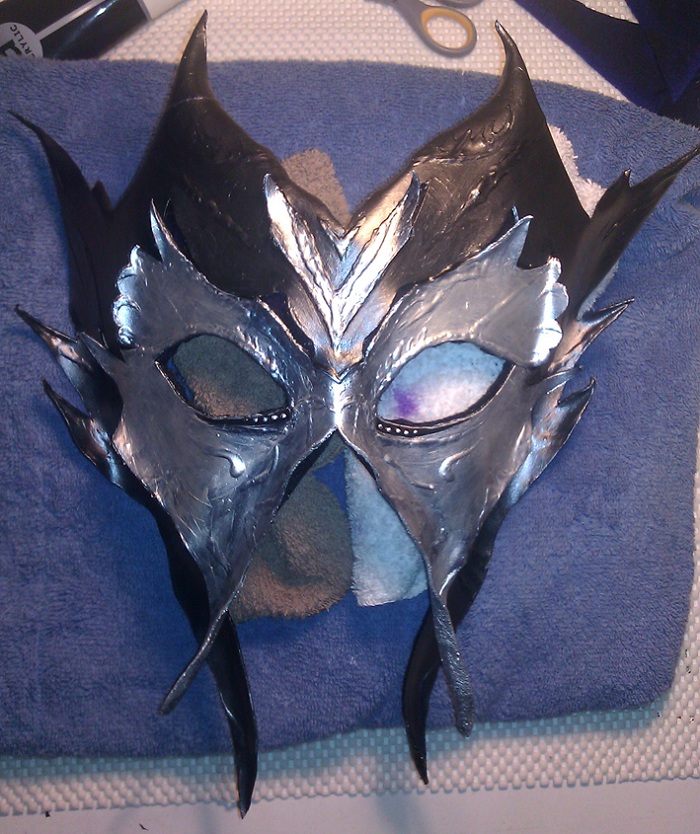
It was still good that I’d done the black first layer because metallic paints are awfully fickle. The silver I mixed with black for the darker back layer was pretty okay, but the straight silver was a little patchy. I had to do many layers of that. Luckily acrylic dries pretty quickly, but it was still tedious. Ninety-nine percent of art is patience.
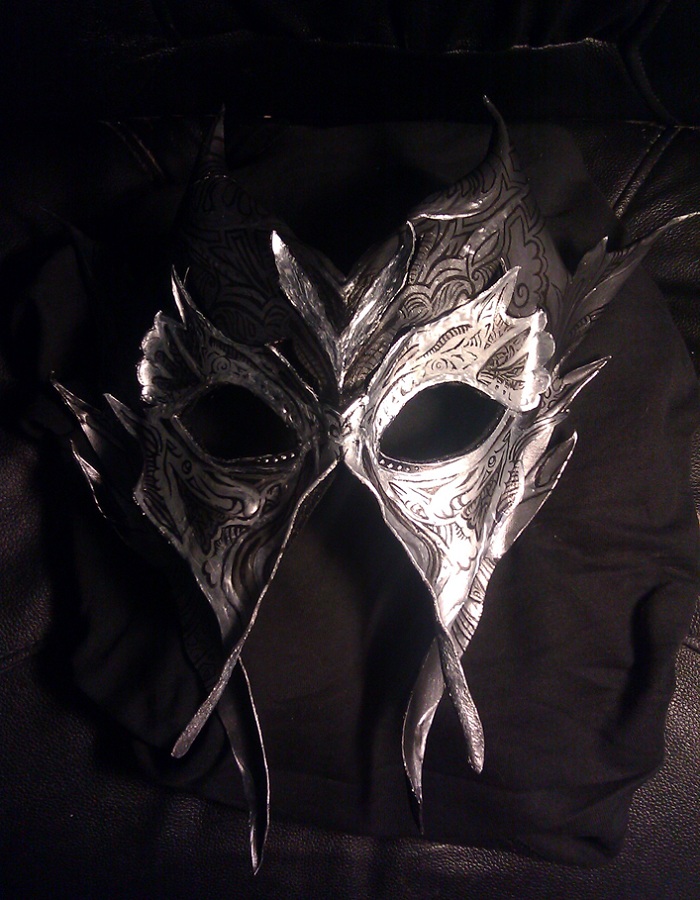
After that, all that was left was the detailing. The fun part!